Technical Articles
Precast Façade Sealant Joints: Turn Leaks into a Defined Resealing Scope
Record leaking precast façade joints, verify the intended seal arrangement, and define substrate, compatibility and acceptance evidence before resealing.
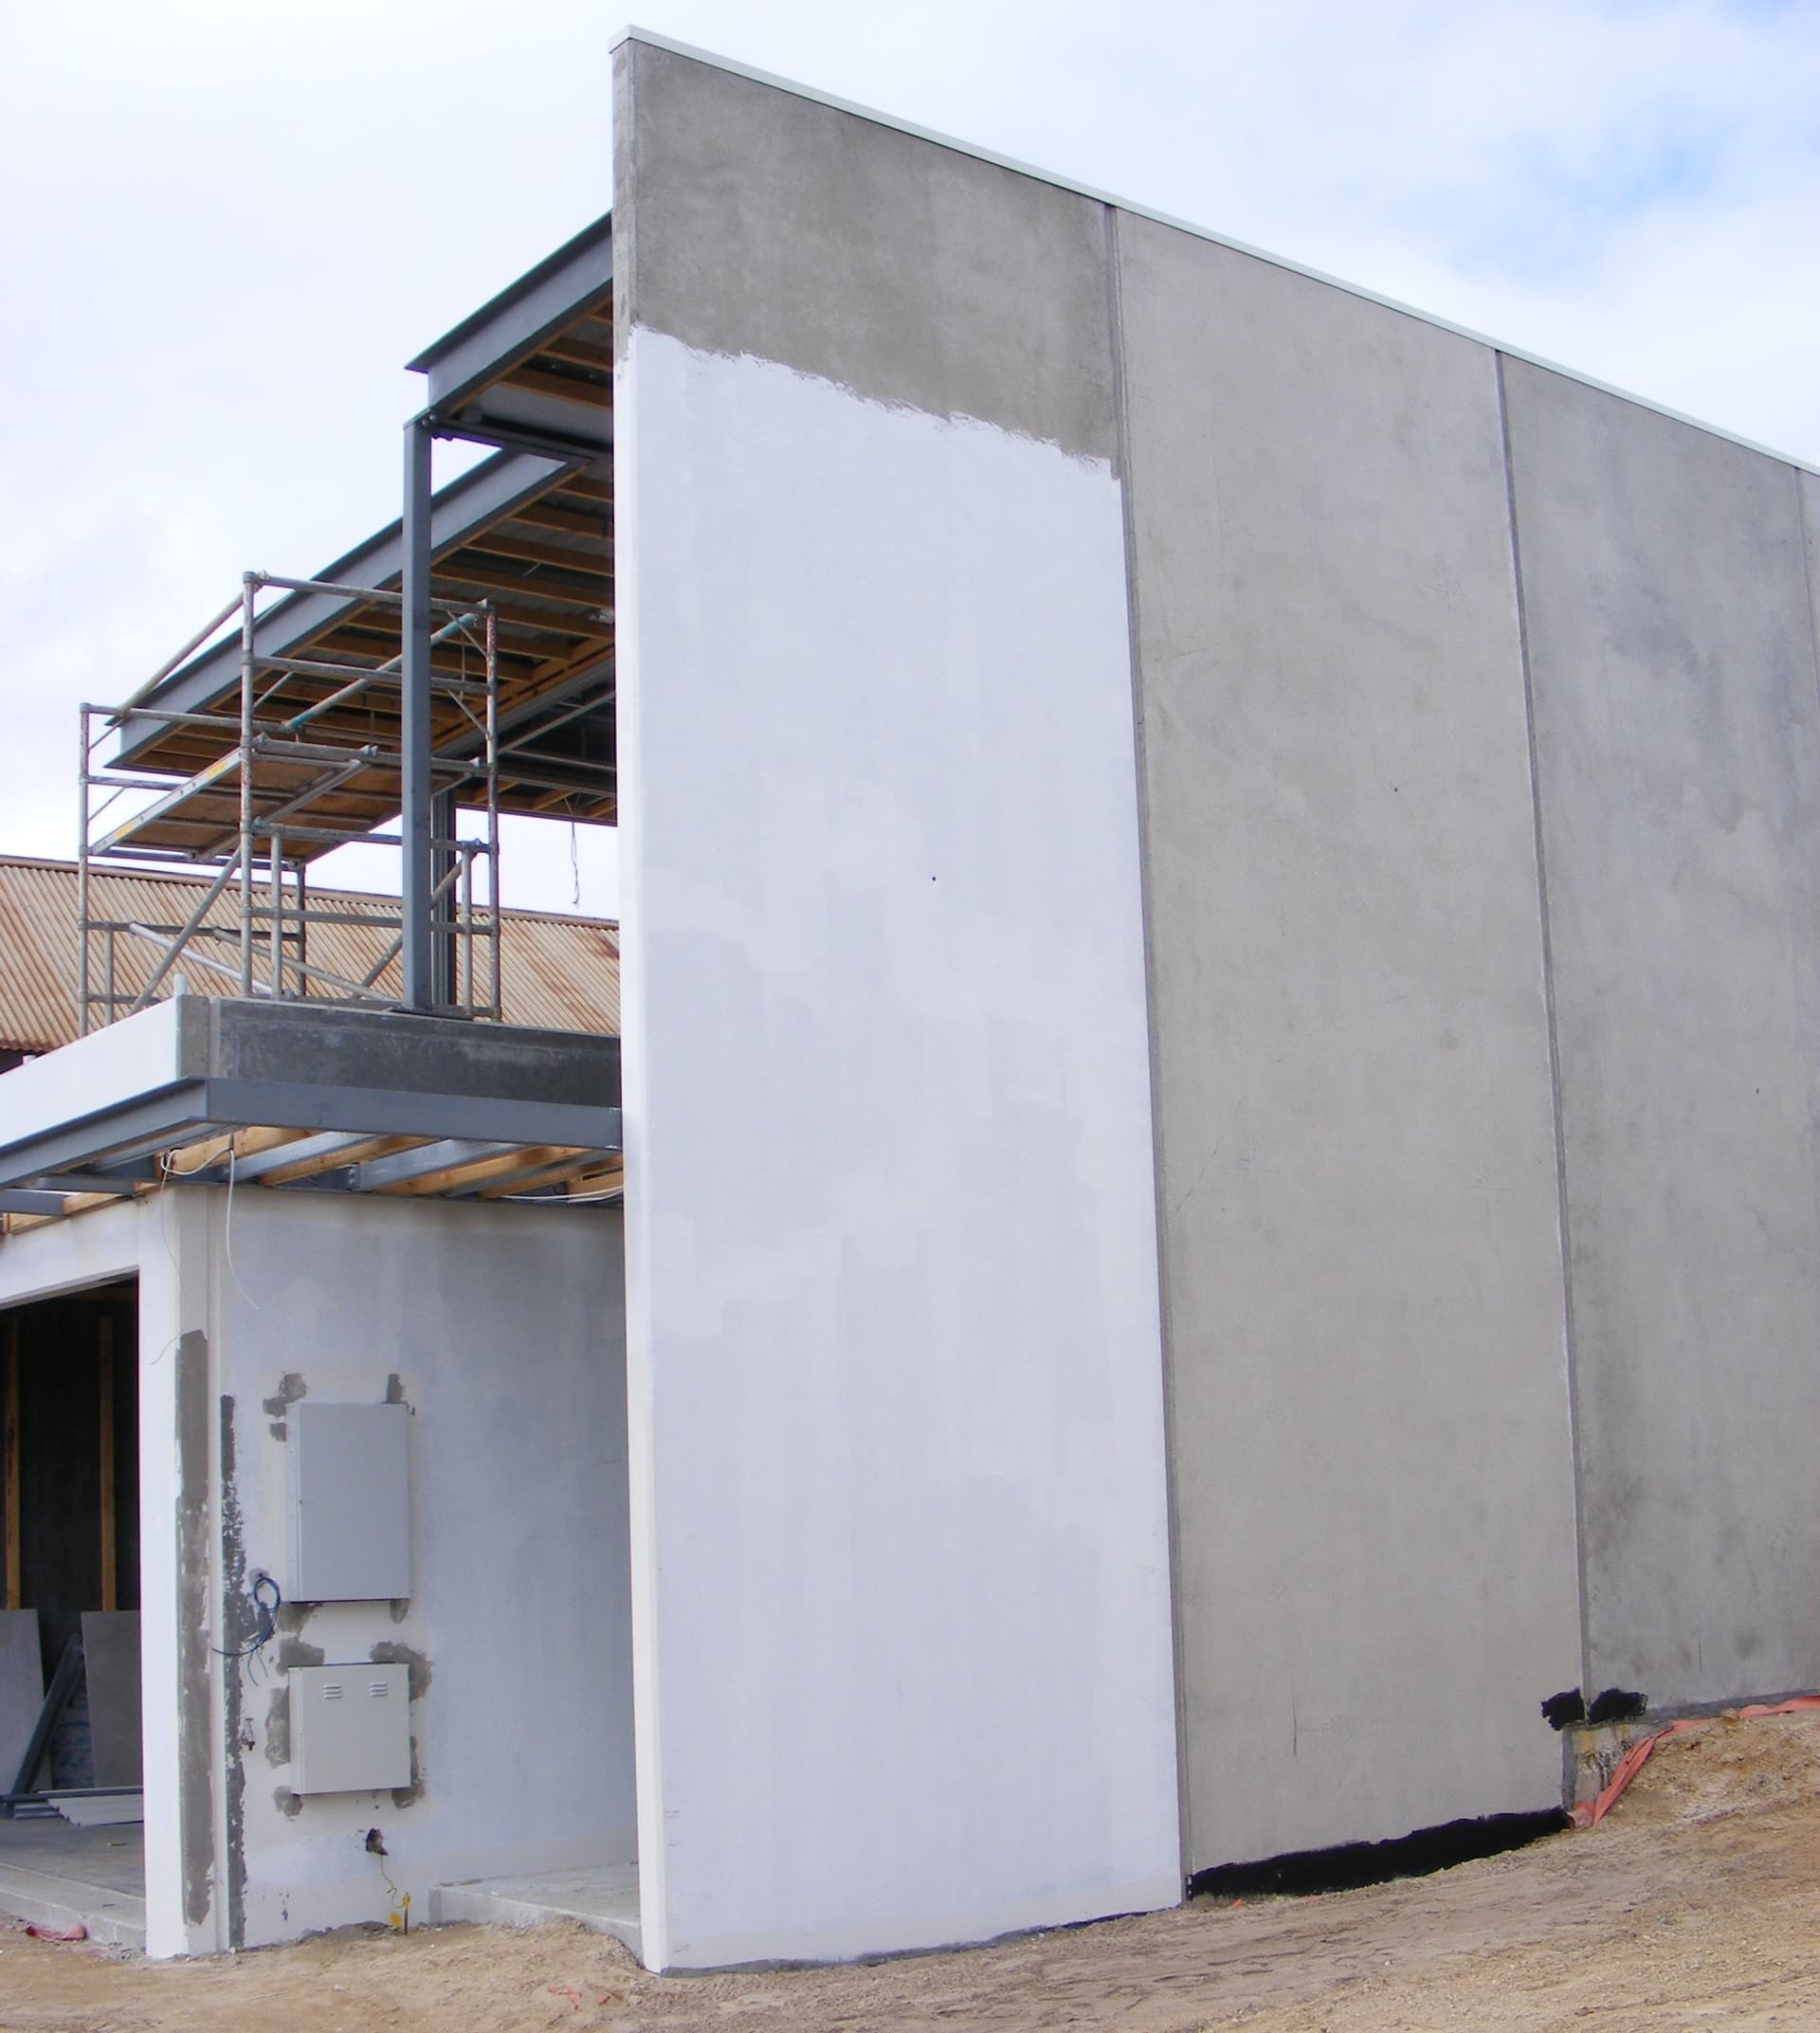
Before tendering repairs to leaking precast façade joints, ask the inspection team to identify the intended joint assembly and the evidence needed to restore it. A scope that only says to reseal an elevation leaves important decisions unresolved: which seal is being replaced, what preparation is approved, and how the completed work will be assessed.
This guide helps owners, inspectors and contractors organize those questions. The façade designer, responsible structural engineer, precaster and approving authority retain responsibility for investigation, joint design, repair details and acceptance. It does not provide an access plan, sealant installation procedure or structural diagnosis.
Check the assembly before choosing a repair
In Primary seals are not secondary, published September 7, 2020, WJE consultants Deborah Slaton, David S. Patterson and Jeffrey N. Sutterlin described leakage at stone-faced architectural precast panels. Investigation found repeated sealant applications and obstructed joints where the specified primary seal was missing. Repair involved restoring that seal and its roof interface. This was a particular building investigation, not proof that every leaking façade has the same defect.
Use the case to frame the first request: obtain the original joint section, approved shop drawings and repair history. Ask the façade specialist to identify the water-control arrangement and its interfaces with adjacent construction. Where drawings describe two seals, record the purpose and location of each. Do not assume an additional surface bead restores a missing part of the assembly.
Mark gaps in the information. If there is no reliable original detail, ask the responsible designer to establish the repair basis before contractors price it. Keep proposed changes to stone, concrete edges, flashings or other materials outside a general resealing instruction until the relevant design authority approves them.
Record observations without inventing a cause
At each accessible inspection location, photograph the sealant body and its contact with the joint sides. Record visible separation, tearing, missing material and residue using neutral descriptions. Ask the specialist to classify the failure and identify any additional testing required. Appearance alone should not become a conclusion that a primer was omitted or a panel connection has failed.
Distinguish the interior location of reported water entry from the exterior joint being investigated. Give both locations drawing references. Record weather conditions, timing and previous repair dates where available, identifying whether the information comes from a maintenance log or someone's recollection.
Ask the inspection team to specify representative opening-up locations and the method for reinstating them. Arrange work at height and destructive inspection through the project's authorized contractors. Keep occupants' reports as observations until the investigation establishes the relevant water path.
Survey dimensions against the approved detail
Record joint width at the agreed survey points, along with the measurement date, instrument and accessible limits. Where the specialist exposes an existing bead, record depth and backing arrangement. Include panel identifiers, elevation, nearby windows or roof interfaces, and photographs that show the measurement location.
Compare measurements with the approved joint detail and the proposed sealant's current instructions. Avoid universal pass or fail dimensions copied from a different product sheet. If the measured joint cannot accommodate the proposed system, ask the designer and manufacturer for a written detail rather than asking the contractor to improvise.
Use a joint register to connect the survey with the priced work. Identify provisional quantities explicitly so the tender distinguishes known replacement lengths from work awaiting investigation.
| Inspection item | Record | Question to resolve | Scope evidence |
|---|---|---|---|
| Existing seals | Detail reference and exposed arrangement | What function must be restored? | Approved repair section |
| Visible damage | Photographs and location identifiers | What further assessment is needed? | Inspection decision |
| Dimensions and backing | Width, exposed depth and backing observations | Is the proposed detail suitable? | Designer and manufacturer response |
| Concrete surfaces | Residue, loose material and edge condition | What preparation or separate repair is approved? | Substrate preparation detail |
| Adjacent construction | Window, flashing and roof interfaces | How will continuity be addressed? | Coordinated interface drawing |
| Completed work | Test locations, results and reinstatement records | Who accepts the repaired assembly? | Written acceptance record |
This is a recordkeeping template, not a manufacturer's specification. Adapt its inspection locations and acceptance evidence to the actual building.
Require a product-specific preparation proposal
Tremco's Urethane Sealants Application Instructions, marked US-AI/0824, describe concrete preparation, project-specific adhesion checks, primer selection and backing that controls bead depth. They recommend bond-breaker tape where a backer rod cannot be used and recommend dry tooling. These instructions concern Tremco urethane products; they are not a universal method for silicone or every existing substrate.
Request the selected manufacturer's current instructions and a written proposal covering removal, surface preparation, backing, primer, sealant and testing. Ask how the contractor will demonstrate that old material and contamination have been addressed. Have the manufacturer or designer approve the preparation method for the actual substrate; do not prescribe grinding every joint to bare concrete regardless of its condition.
Ask the proposal to distinguish preliminary adhesion checks from acceptance of completed work. Identify the test method, locations, timing, interpretation and repair of test areas. Tremco notes that adhesion develops more slowly than the sealant cures through, so adhesion testing may need a longer period. Obtain timing for the chosen product and conditions instead of treating a calendar interval as automatic approval.
Separate movement questions from sealant selection
Record unexpected panel offsets, changing joint widths or cracks as matters for the responsible engineer to assess. Do not label them as failed anchors, corrosion or frame drift without supporting investigation. Request the review before agreeing repairs at affected locations, and keep any resulting connection work as a separately defined scope.
Ask the designer to confirm that the proposed joint detail addresses the project's expected movement. Keep that decision separate from a product's laboratory classification or marketing description. A product data sheet helps describe a sealant; it does not establish the movement demand or accept the repair for this building.
Close the scope with evidence and ownership
Before issuing the work package, name the person responsible for approving the mockup or trial area, reviewing test results, resolving concealed conditions and accepting the completed repair. Ask the contractor to retain product and batch records, relevant application conditions, location logs and photographs at the agreed inspection stages.
Keep the survey, approved repair details, test reports and reinstatement records together. Record unresolved interfaces separately from accepted work. For help organizing the technical question, share the drawings, leak history, inspection register and open decisions through the PRECAST.WORLD technical desk. Final investigation and repair approval remain with the responsible project professionals.