Admixtures
Repair Mortar for Precast Elements
How to select repair mortar for chips, honeycombs, edge damage and surface correction.
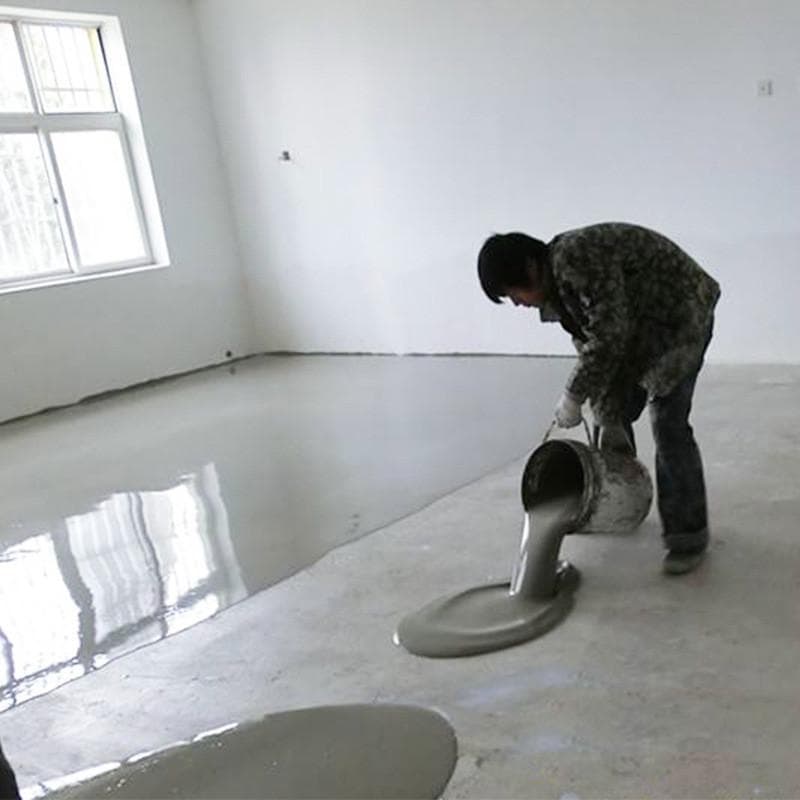
Technical summary
Repair mortar should be selected by defect type, exposure, strength and appearance. Cosmetic repair and structural repair require different thinking.
Field notes
Repair Mortar for Precast Elements operating variables
Repair mortar should be selected by defect type, exposure, strength and appearance. Cosmetic repair and structural repair require different thinking.
Parameters to verify
- Identify why the defect happened first.
- Separate cosmetic and structural needs.
- Check bond, shrinkage and color.
- Prepare substrate correctly.
Records and inputs
- Defect photos
- Concrete strength
- Exposure condition
- Repair area
Failure modes to watch
- Root cause not fixed.
- Bond failure.
- Patch color mismatch.
Visual workflow
Repair mortar as defect-evidence workflow
Repair mortar should connect defect classification, substrate preparation, material compatibility, curing and root-cause feedback. Supporting visual: release agent as the related product or interface reference for this workflow.
Separate cosmetic, edge, honeycomb, crack and structural defects.
Remove weak material, dust, oil and unsuitable laitance.
Match strength, shrinkage, color, exposure and setting time.
Follow thickness, primer, moisture and finishing requirements.
Protect repair before handling, coating or delivery.
Map repeated repairs to mold, lifting, curing or vibration causes.
Production context
Repair mortar should be selected by defect type, exposure, strength and appearance. Cosmetic repair and structural repair require different thinking.
Where this applies
- repair mortar planning and comparison
- surface planning and comparison
- quality planning and comparison
Engineering variables
- Identify why the defect happened first.
- Separate cosmetic and structural needs.
- Check bond, shrinkage and color.
- Prepare substrate correctly.
System interfaces
- Compare repair materials by performance, not only setting time.
- Ask for surface preparation instructions.
- Test color and texture.
Production evidence checklist
| Production variable | Why it matters in production | Records or evidence to inspect | Interface risk |
|---|---|---|---|
| Defect classification | Separates cosmetic chips, honeycombs, cracks, exposed reinforcement and structural repair before material choice. | Defect photos, depth, location, element type, reinforcement exposure and rejection/acceptance rule. | Using cosmetic repair on a structural defect hides the cause and may fail inspection. |
| Substrate preparation | Controls bond strength, shrinkage, color consistency and long-term durability of the repair. | Surface roughening method, cleaning, moisture condition, primer use and pull-off or mock-up result. | The best repair material fails when dust, laitance, oil or dry substrate is left in place. |
| Material compatibility | Matches strength, modulus, shrinkage, color, setting time and exposure condition to the element. | Material datasheet, trial patch, color check, curing method, exposure class and accepted repair standard. | A patch can be strong but visually rejected or crack because shrinkage and color were not checked. |
| Repair timing and curing | Controls production flow, storage release, final inspection and transport readiness. | Setting time, repair sequence, curing method, temperature record and time before handling or coating. | Fast repair can still fail if the patch is handled, stacked or dried before it has cured. |
| Root-cause feedback | Feeds repair data back to molds, lifting, vibration, mix, curing and storage support changes. | Repair log by product, defect location map, handling record, mold record and trend by shift. | If repair is treated as cleanup instead of evidence, the same defect keeps returning. |
Technical references
Original sources and related manuals
Open the governing standard record, original process source or related product manual for the underlying scope and terminology.
Use this manual to check defect type, substrate preparation, compatibility and curing.
Open process referencePRECAST.WORLDRelease agent manualUse this reference when repair demand is connected to demolding or surface-release problems.
Open process referencePRECAST.WORLDHoneycomb troubleshooting articleUse this article when repair is evidence of compaction, mix or reinforcement-access problems.
Open process referenceFUCHSConcrete release-agent application guideManufacturer application reference for release-agent preparation, application rate, surface condition and finish evidence.
Open process referenceWeak assumptions seen in projects
- Covering structural issues cosmetically.
- Skipping substrate cleaning.
- Using a color that does not match after drying.
Inspection and acceptance points
- Root cause not fixed.
- Bond failure.
- Patch color mismatch.
- Shrinkage cracks appear.
FAQ
What is the first decision to make for repair mortar for precast elements?
Start with product type, target capacity and local requirements. These inputs shape equipment, mold, material and quality-control choices.
What information should be prepared before speaking with suppliers?
Prepare drawings, target output, local standards, installation limits, available utilities, budget range and the questions you need answered.
Need to frame the technical context?
Send product type, capacity target, standards, drawings, photos or quality issues. PRECAST.WORLD will turn them into clearer technical notes for the next discussion.